SSO Guide · OneLogin
A guide for Tuple customers who want to use SAML SSO with OneLogin as the Identity Provider.
Overview
- Create SAML SSO Connector
- Configure Tuple’s required metadata
- Attach required Tuple parameters to SSO response
- Download X.509 certificate and set up SAML in Tuple using your metadata
Step 1 - Creating SAML Connector
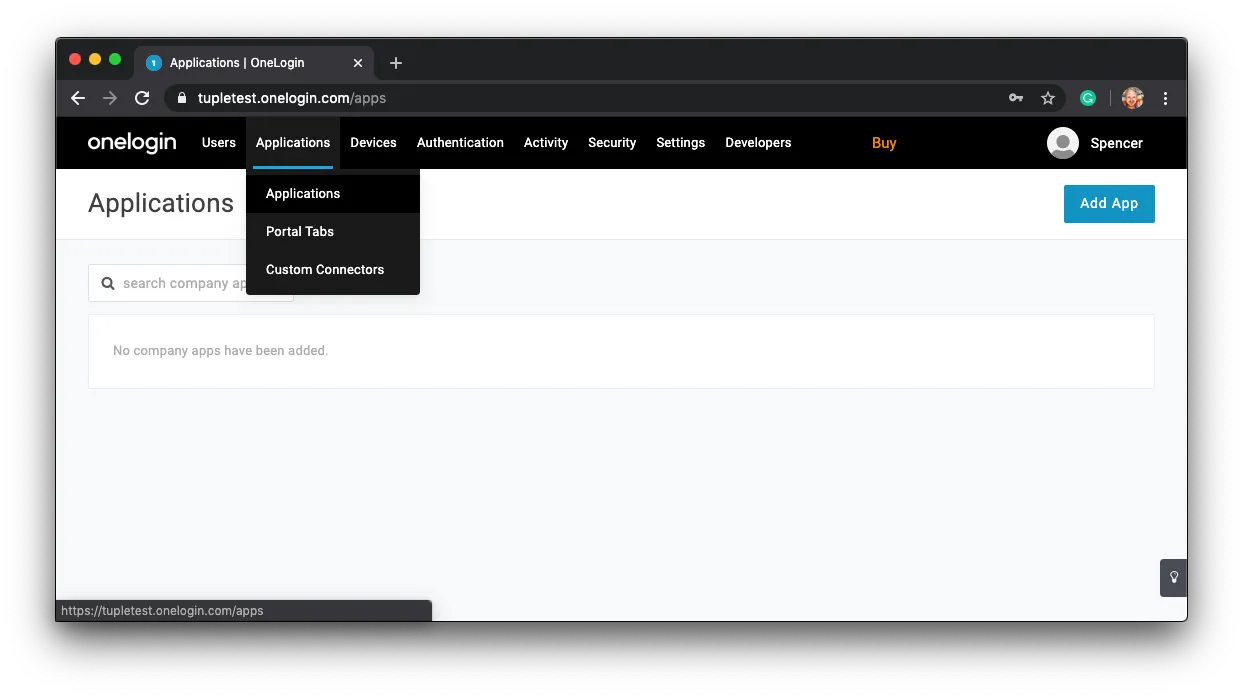
After signing in or creating your OneLogin account you’ll need to add a new SAML SSO application. Click on Applications > Applications in the top navigation bar.
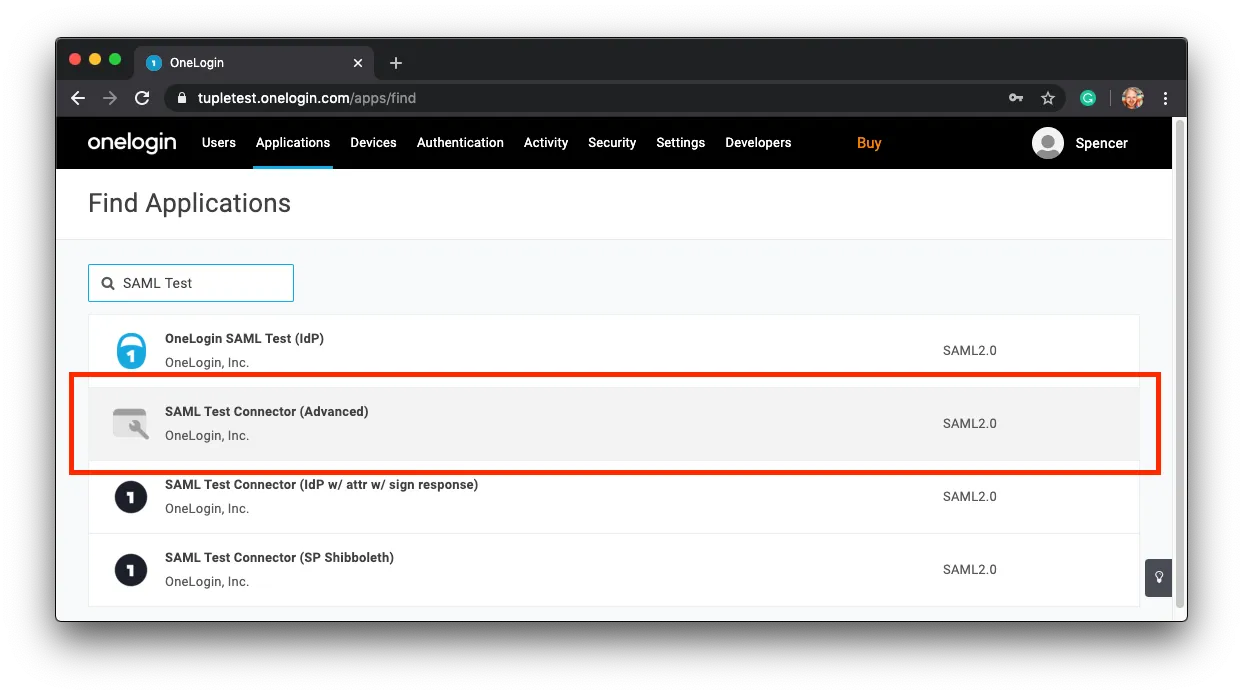
In the search field, enter: SAML Test and select the SAML Test Connector (Advanced) from the results.
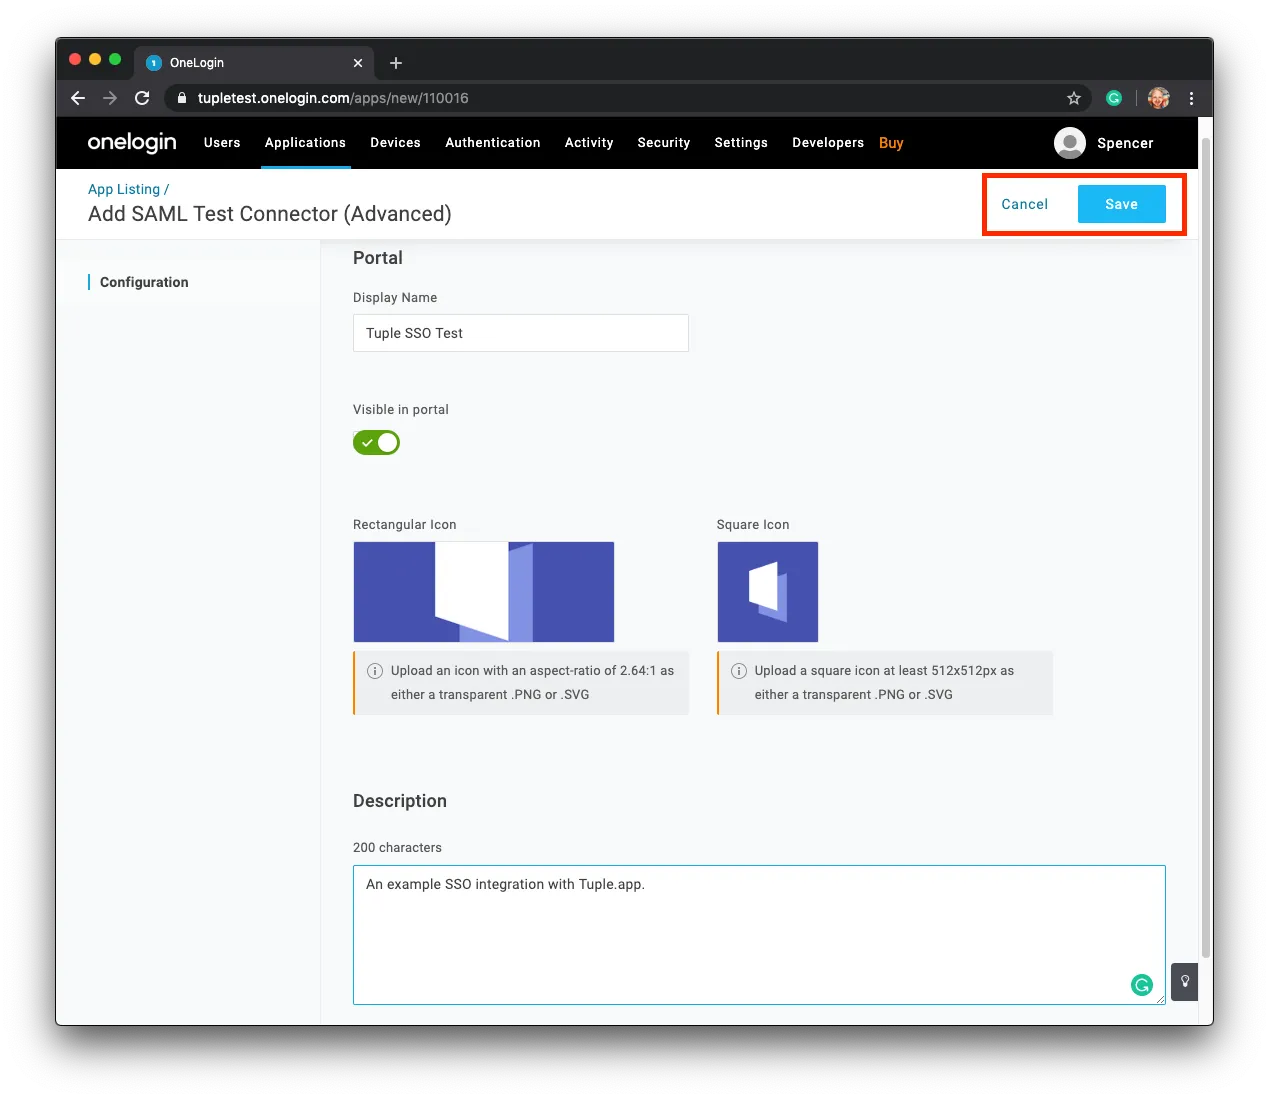
Fill in any required metadata, upload company logos you’d like to use, and save the new application.
Step 2 - Configure Tuple’s Metadata
After saving, click on Configuration in the left-hand sidebar.

Fill in all the fields circled in red.
Audience (EntityID)
https://production.tuple.app/users/saml/metadataRecipient
https://production.tuple.app/users/saml/authACS (Consumer) URL Validator*
https:\\/\\/production.tuple.app\\/users\\/saml\\/authACS (Consumer) URL*
https://production.tuple.app/users/saml/authLogin URL
https://production.tuple.appStep 3 - Attach Required Parameters
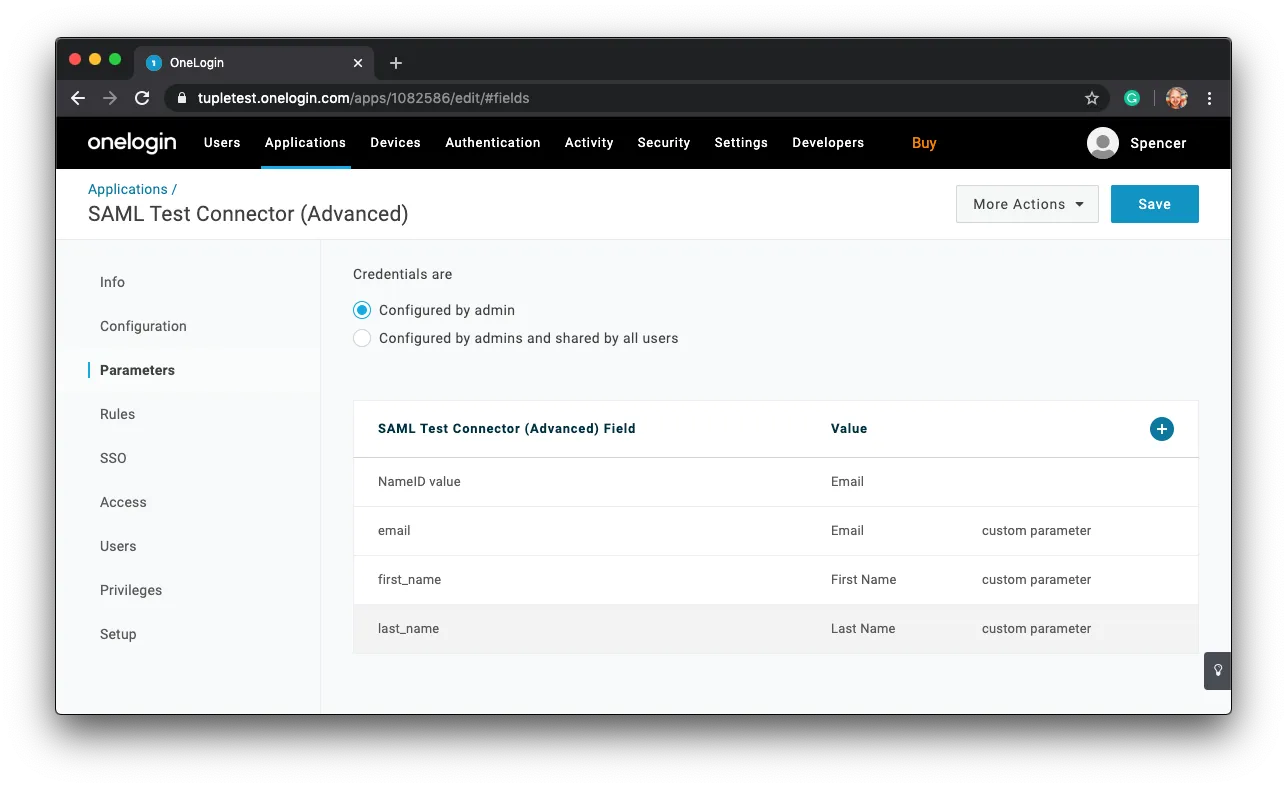
Next, head to the Parameters section in the side bar and find the plus button to add new fields.
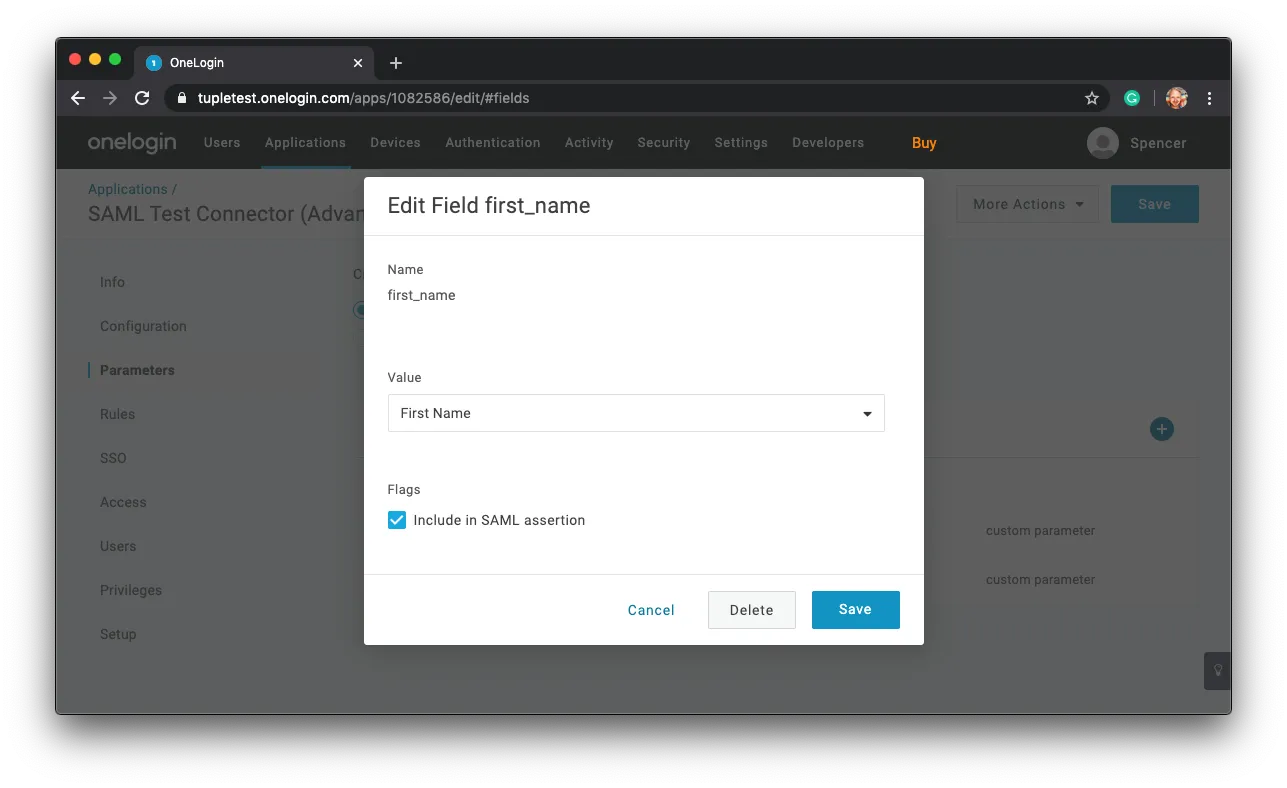
These fields will be sent along in the SSO response. There are three fields that Tuple requires in order to work: email, first_name, and last_name.

When adding these new fields, ensure that the checkbox Include in SAML Assertion is checked.
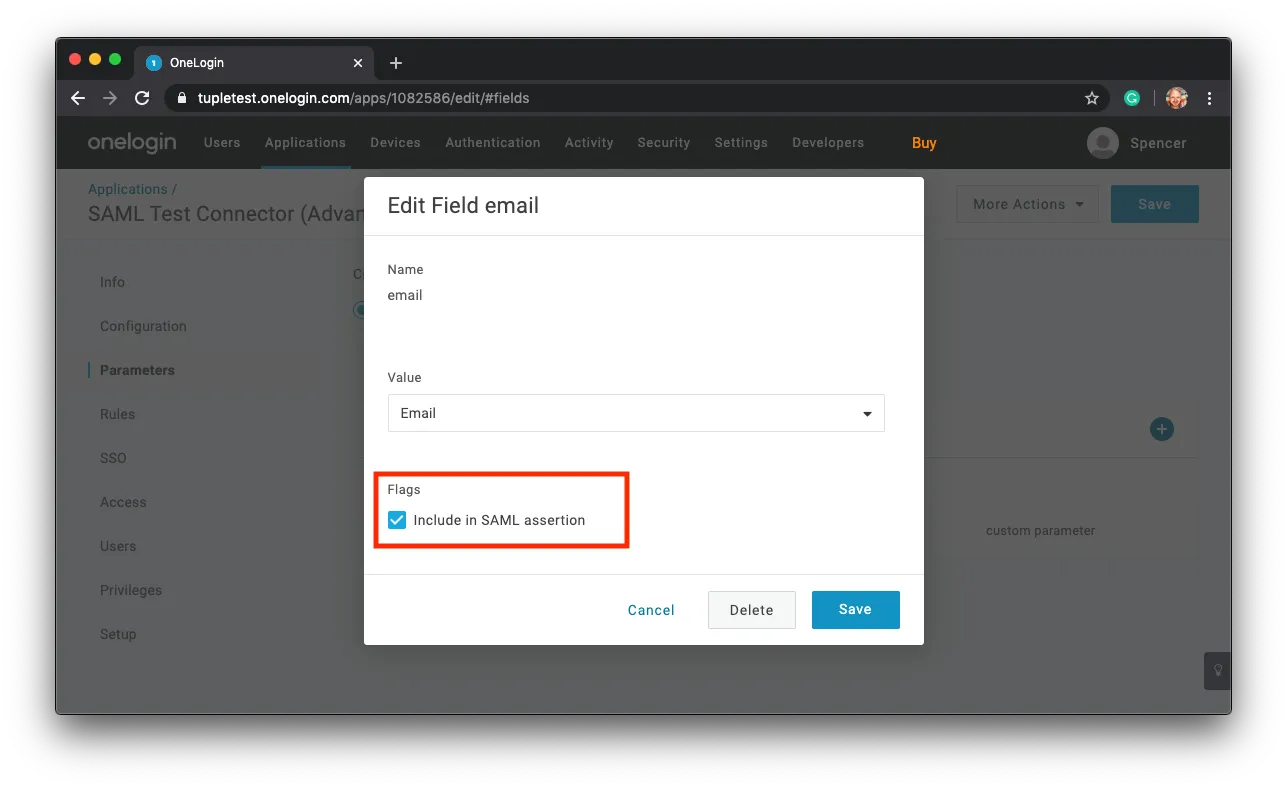
Repeat for first_name and last_name.
Once you’re finished with adding the required parameters the screen should look like:
Step 4 - Enable SAML in Tuple using your metadata
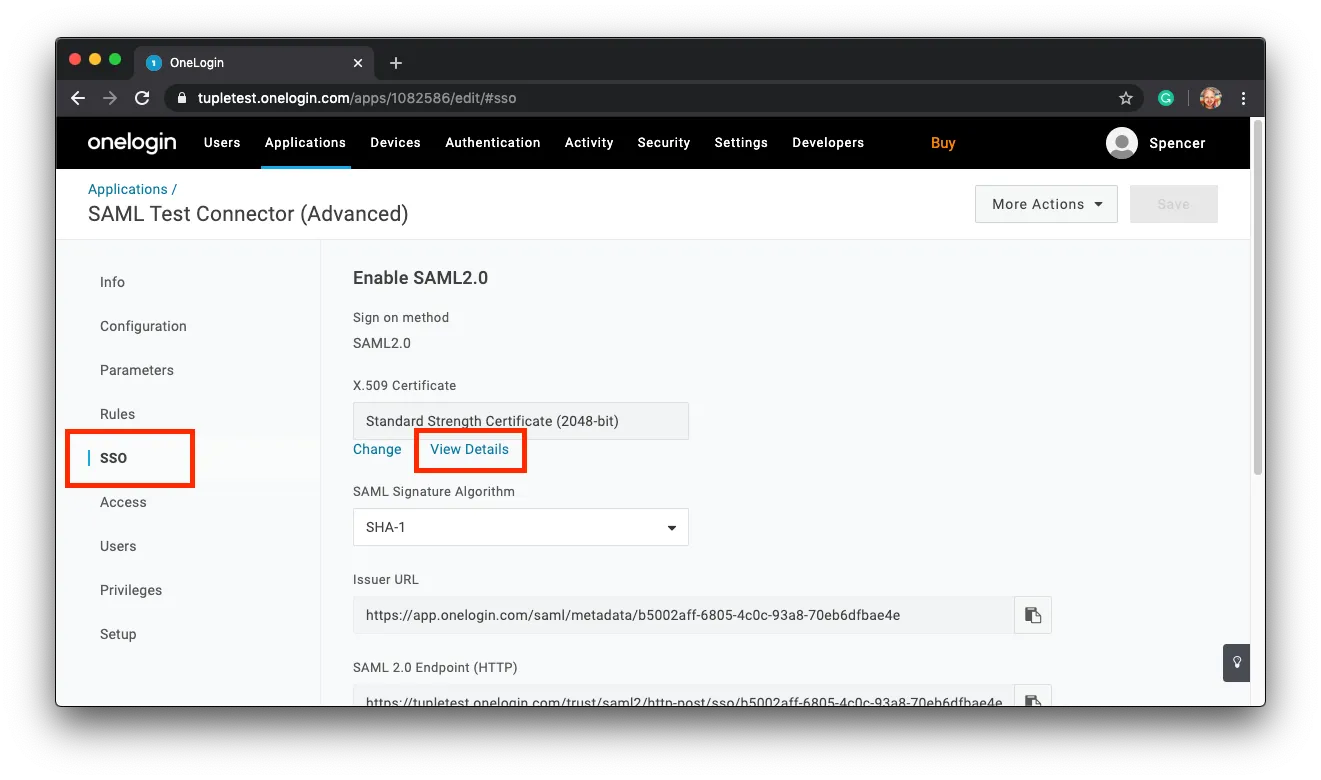
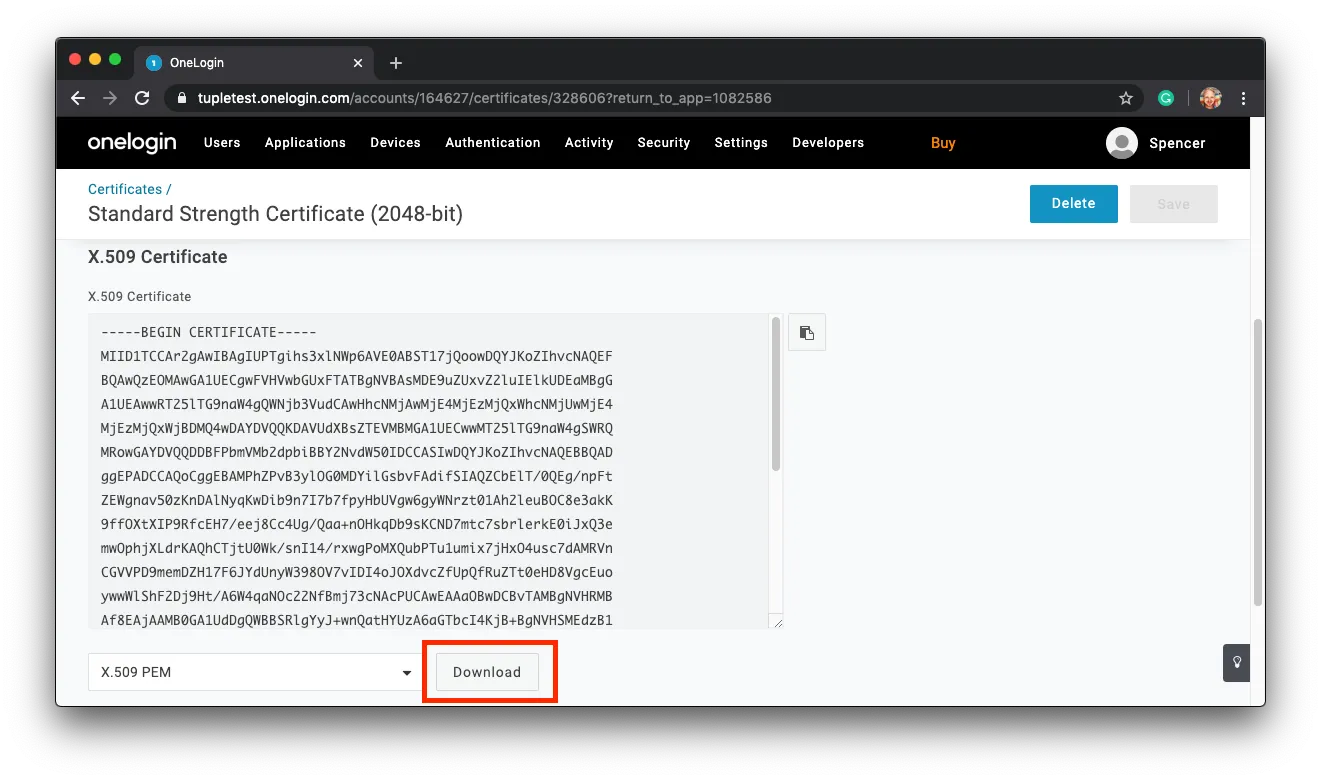
Next, you’ll download your X.509 certificate.
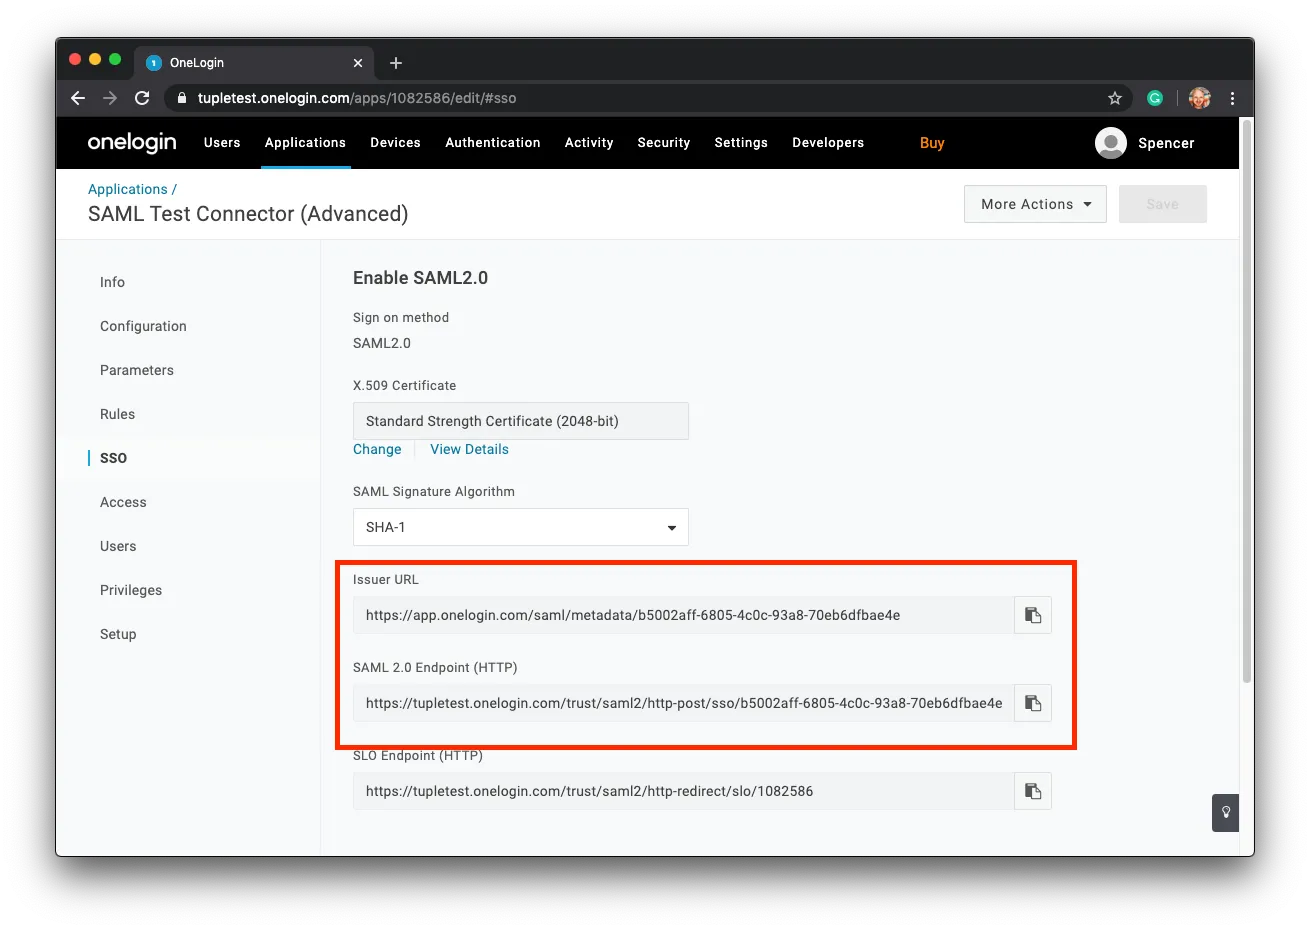
To download your certificate click on SSO in the sidebar and find the link to View Details:
Click on Download. You’ll need to upload this in Tuple shortly.
Finally, return back to the SSO screen and locate the Issuer URL and SAML 2.0 Endpoint (HTTP).
Navigate to the Settings tab of the team management dashboard. Note: Only Team Owners have access to this page, so you will need to be Team Owner to access this page. If you need to find out who the Team Owner for your team is, view your profile.
Toggle to Enable SAML, and the configuration form will be revealed:
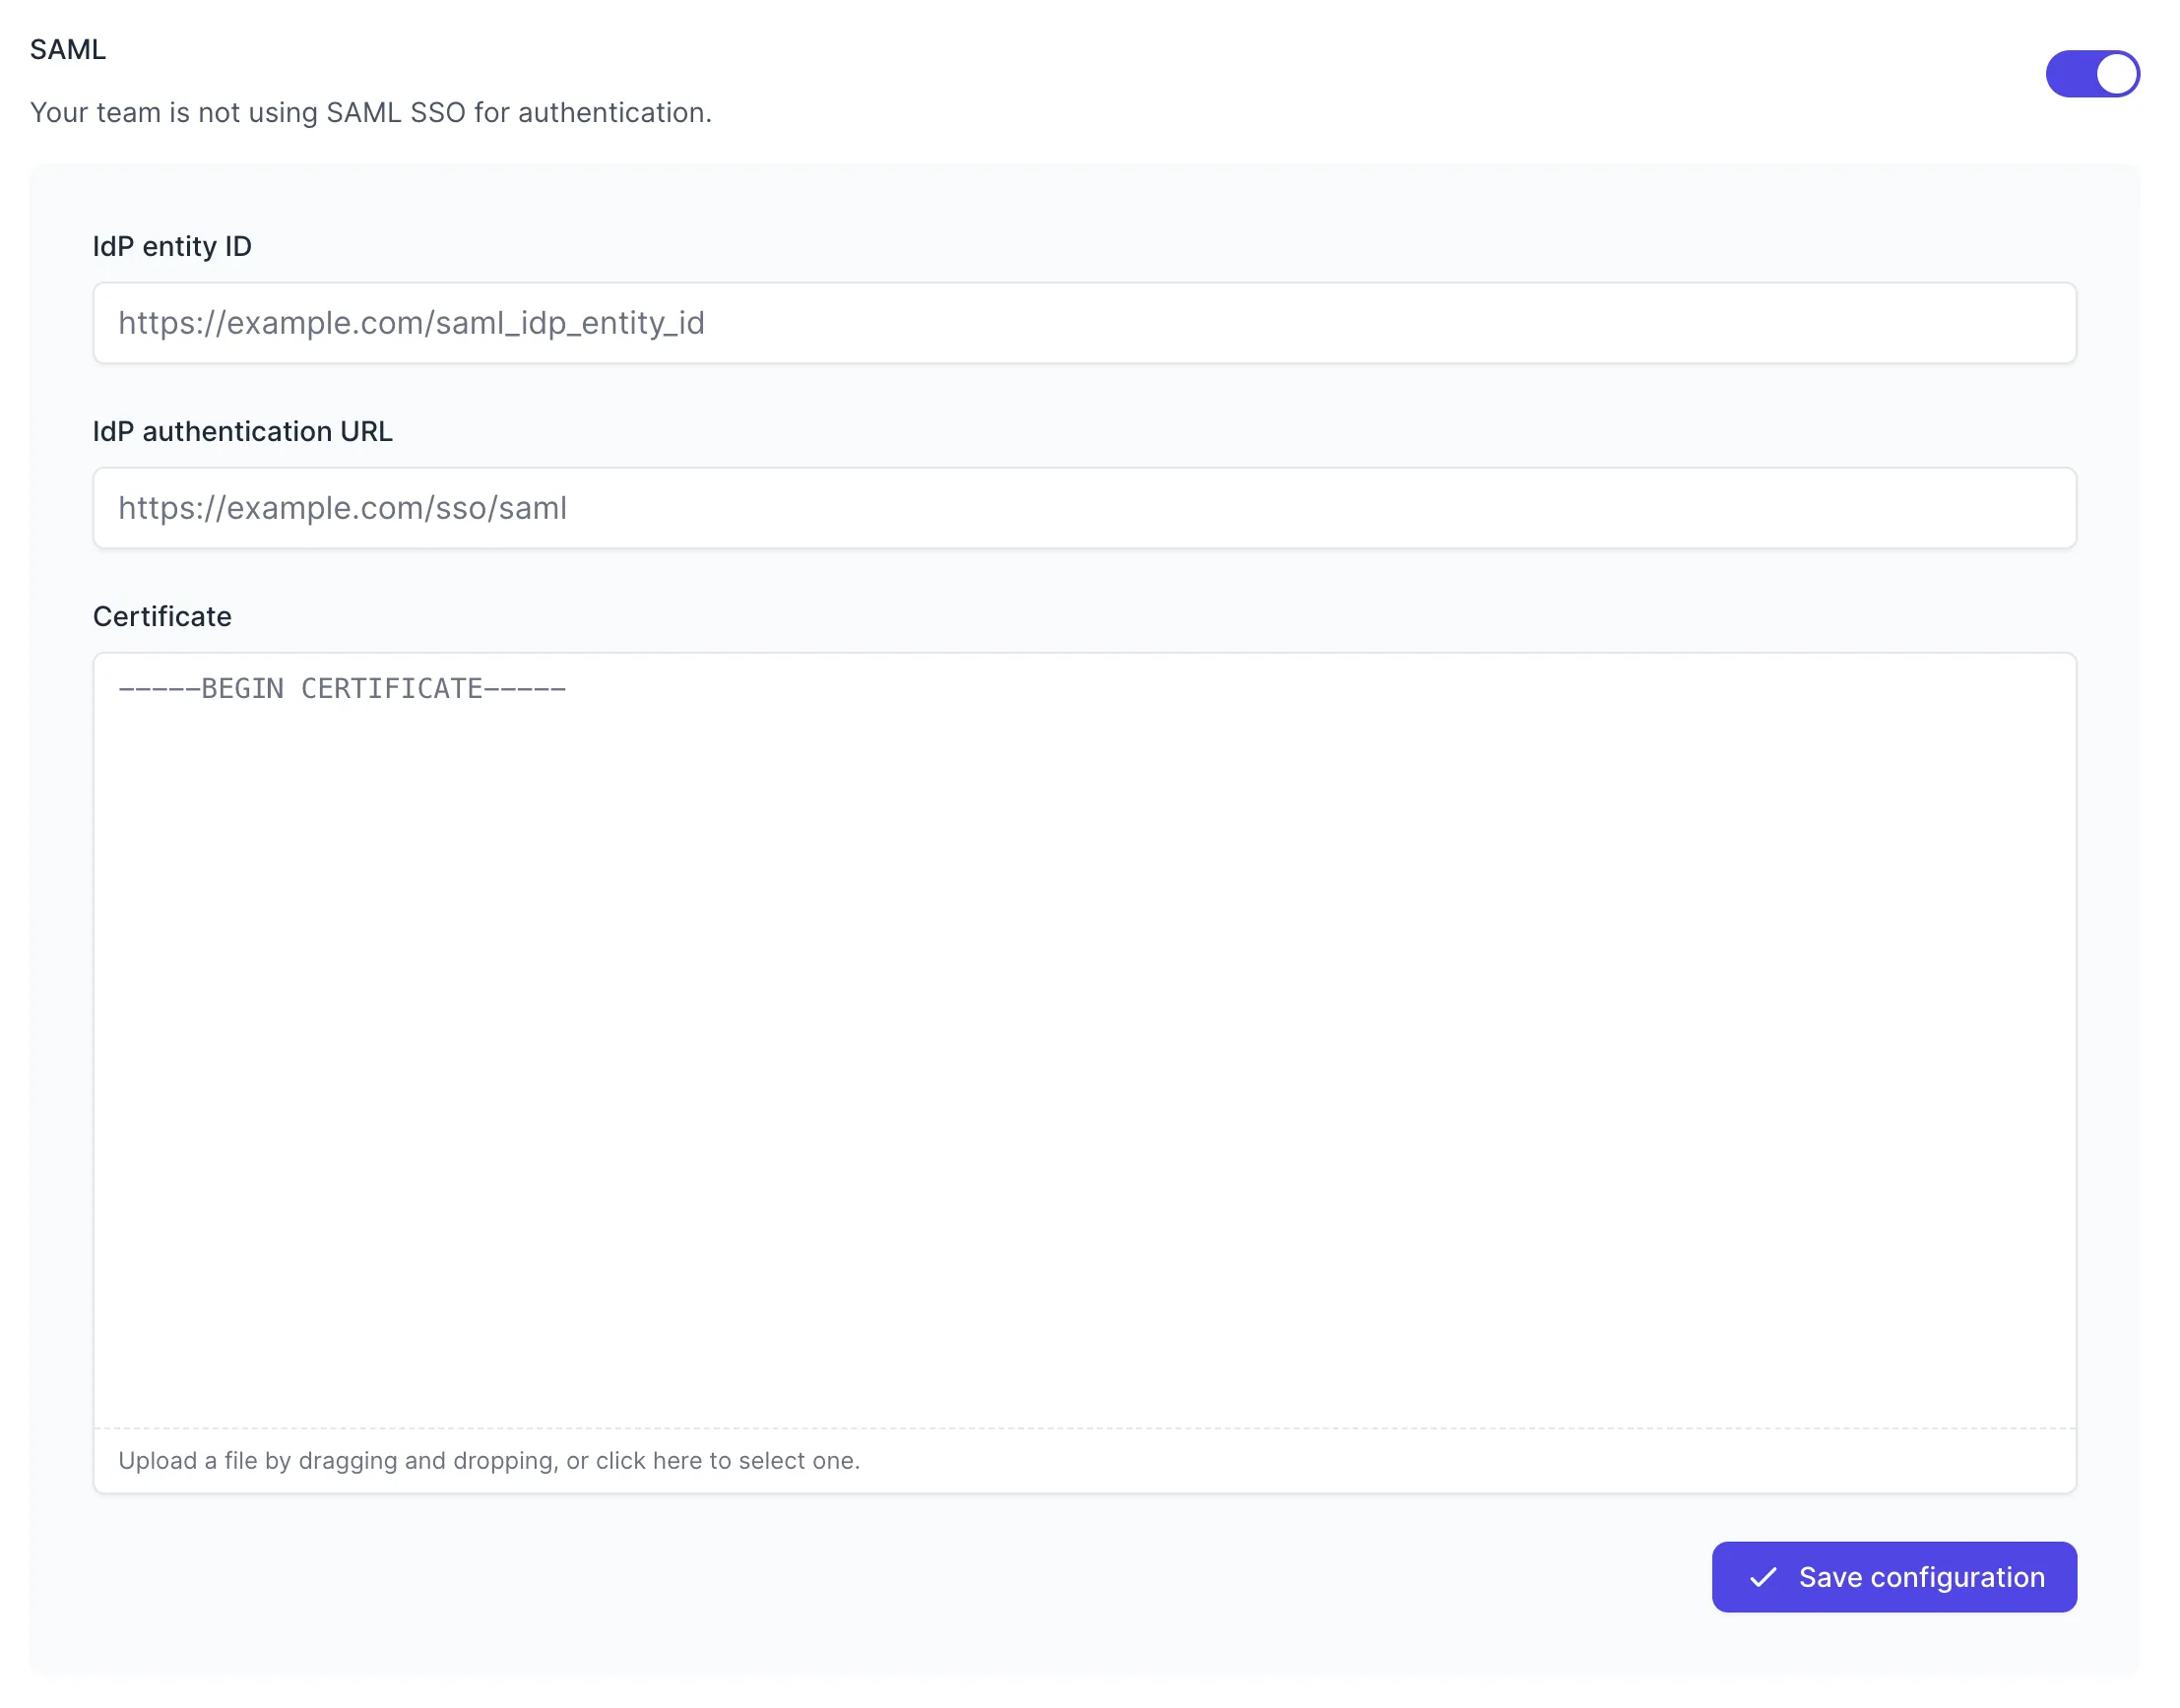
Fill in the values with your metadata:
- IdP entity ID - your
Issuer URL(Entity ID) - IdP authentication URL - your
SAML 2.0 Endpoint (HTTP)(authentication URL) - Certificate - the downloaded certificate file
Press “Save Configuration” to turn on SAML for your team. Once SAML is enabled, any active Tuple sessions will persist, but any new logins will be forced to authenticate using OneLogin. Log in here to verify that it’s working.